Next.js 启航
2024年12月16日...大约 4 分钟
参考:
React 基础教程
- Next.js 是 React 的 Web 全栈框架,先学习 React 基础教程
- Chapter 4: Getting Started with React
- index.html
<html> <body> <div id="app"></div> <script src="https://unpkg.com/react@18/umd/react.development.js"></script> <script src="https://unpkg.com/react-dom@18/umd/react-dom.development.js"></script> <!-- Babel Script --> <script src="https://unpkg.com/@babel/standalone/babel.min.js"></script> <script type="text/babel"> const domNode = document.getElementById('app'); const root = ReactDOM.createRoot(domNode); root.render(<h1>Develop. Preview. Ship.</h1>); </script> </body> </html>- 用浏览器打开 index.html,可以看到结果:Develop. Preview. Ship。
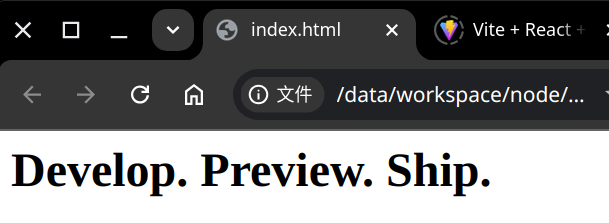
- 用浏览器打开 index.html,可以看到结果:Develop. Preview. Ship。
- index.html
- Chapter 9: 安装 Next.js
- 创建 package.json,内容为:
{}[ ! -f package.json ] && echo "{}" > package.json - 安装依赖
pnpm i react@latest react-dom@latest next@latest
- 创建 package.json,内容为:
Next.js 入门教程
- Next.js 入门教程
- Node 环境搭建
- 安装:fnm、Node.js、pnpm
- IDE:vscode
- 创建入门示例 nextjs-dashboard
pnpx create-next-app@latest nextjs-dashboard --example "https://github.com/vercel/next-learn/tree/main/dashboard/starter-example" --use-pnpm - 启动入门示例
# 进入项目目录
cd nextjs-dashboard
# 安装依赖
pnpm i
# 启动 dev 脚本
pnpm dev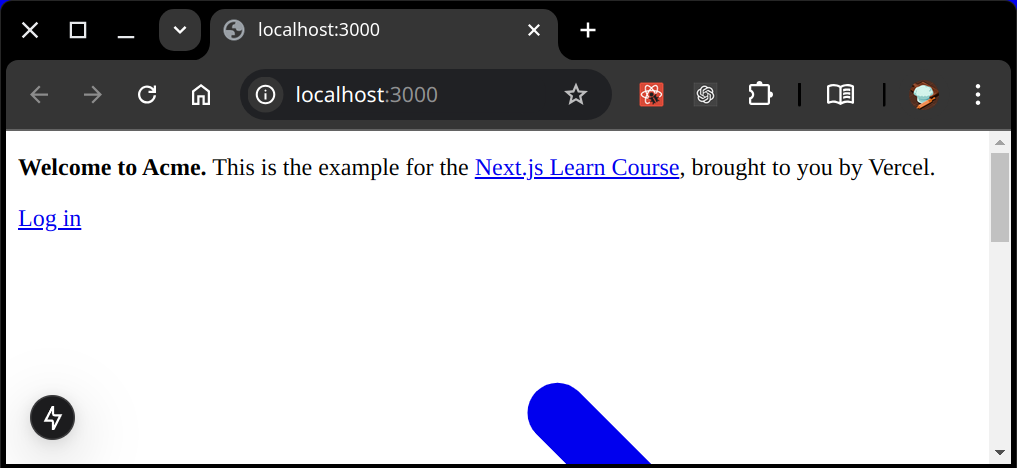
pnpm dev
- 接下来可以按照 Next.js 入门教程开始学习
Chapter 6 安装数据库
- 创建 GitHub 仓库,存储代码
- 创建 Vercel 账号,创建项目
- 配置数据库
- 初始化数据
创建 GitHub 仓库:New repository
- 仓库名直接填:
nextjs-dashboard - 可以选择
私有或公开仓库 - 其他项保持默认值即可
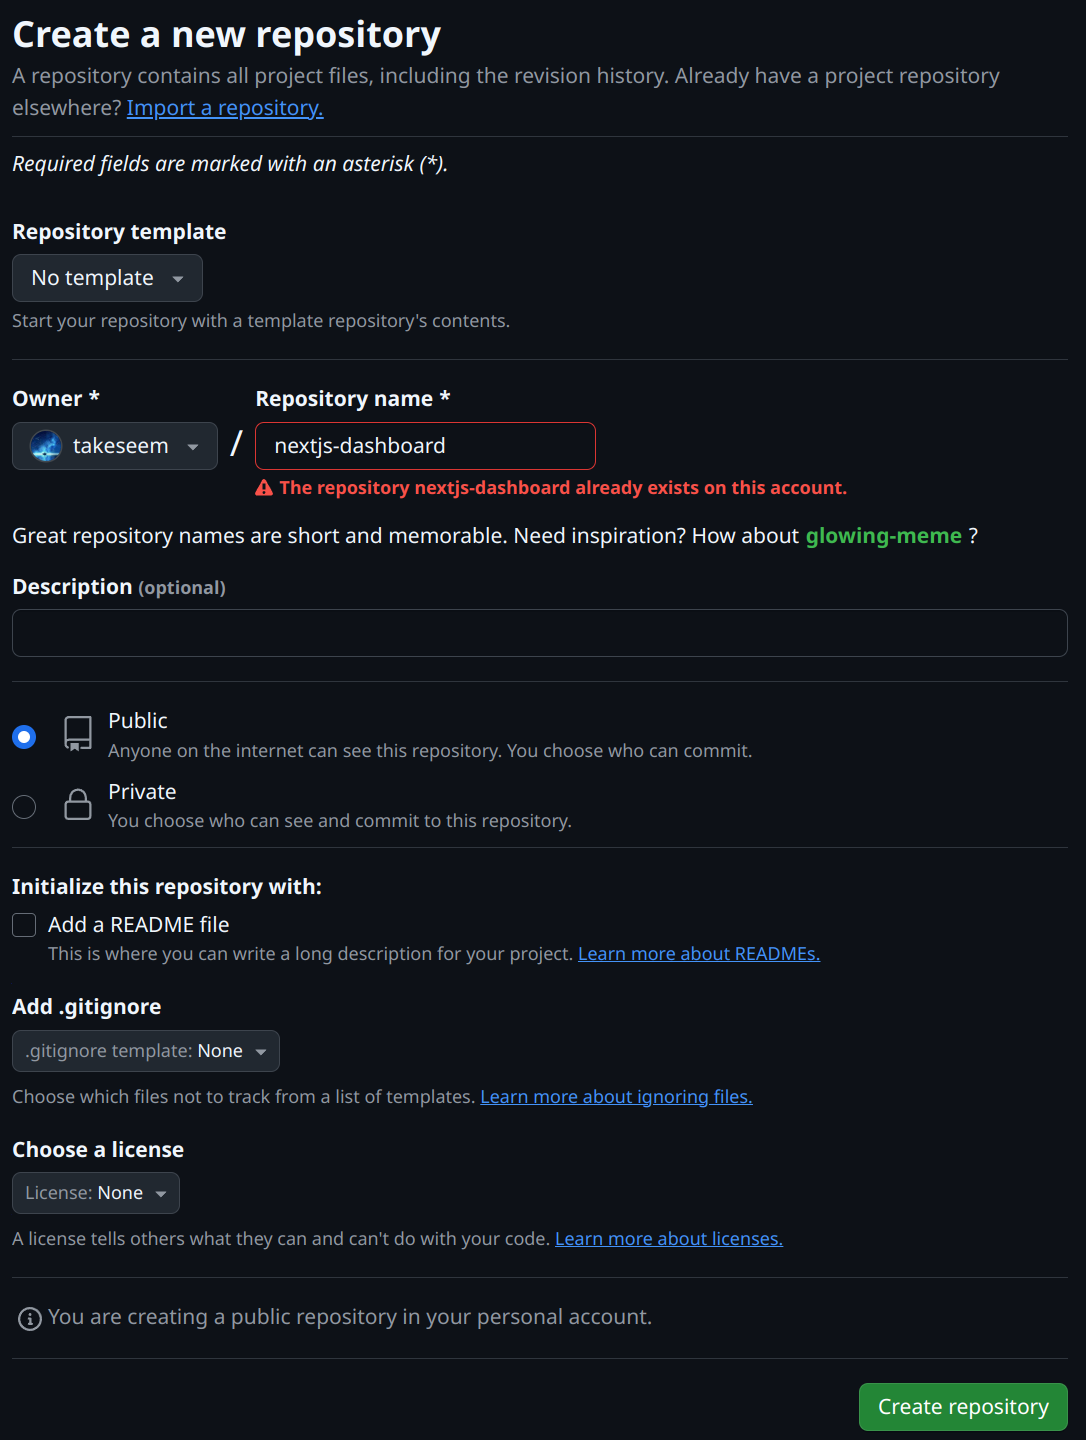
new repository - 仓库名直接填:
创建 Vercel 账号
- 创建账号:vercel.com/signup
- 选择免费计划即可:free "hobby" plan
- 授权访问 Github 项目即可
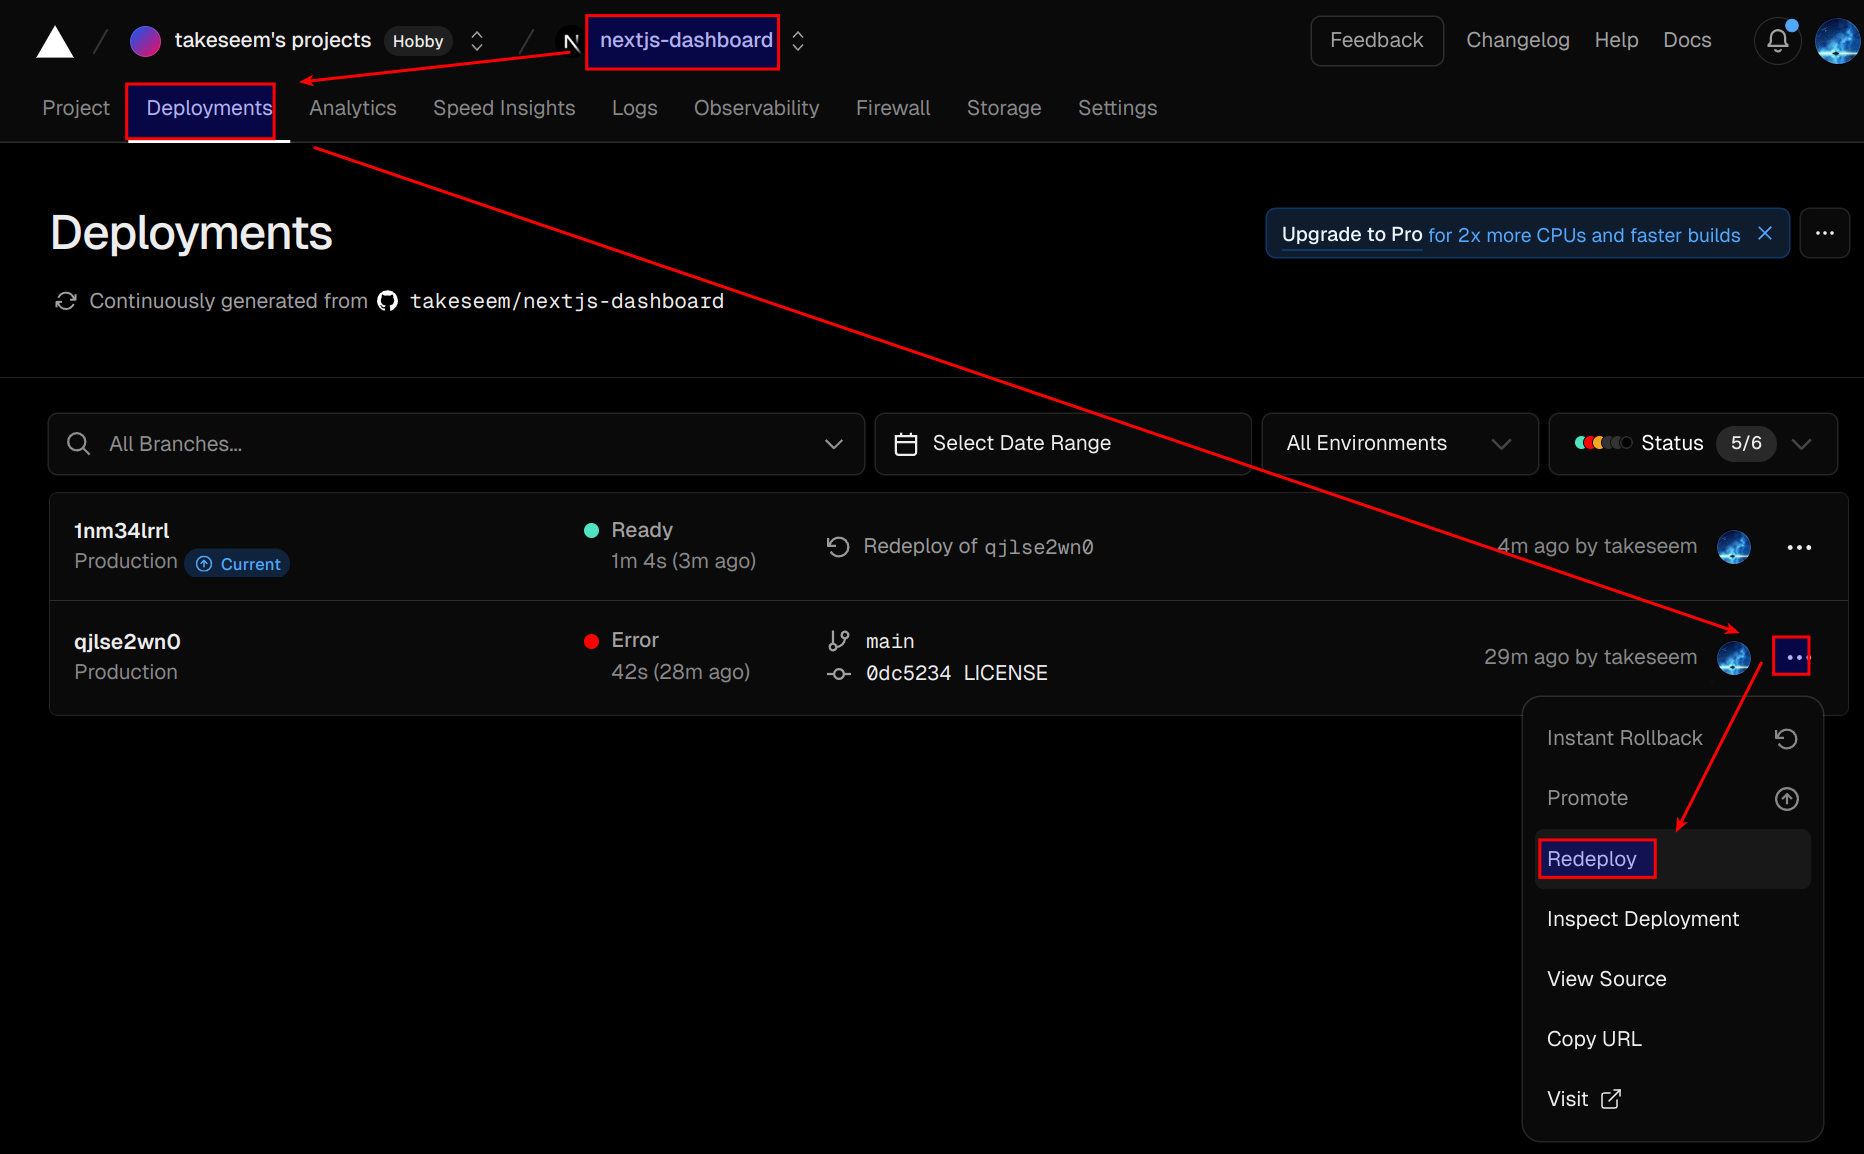
创建 Vercel 项目:选择 github 项目
nextjs-dashboard- deploy 如果失败,可以重新进入vercel.com 看是不是已经创建了项目
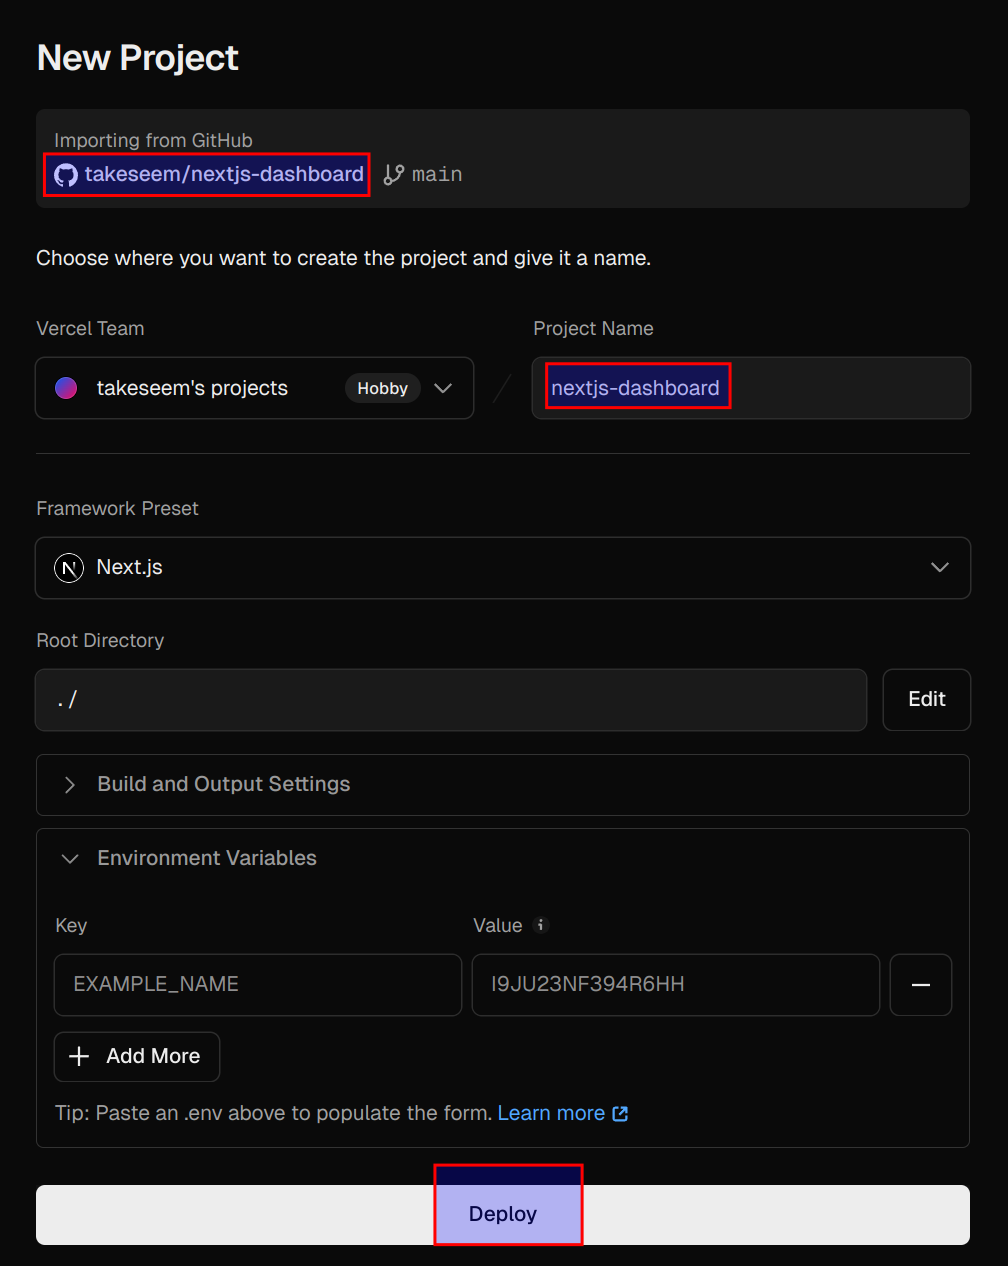
new project 配置数据库
连接数据库
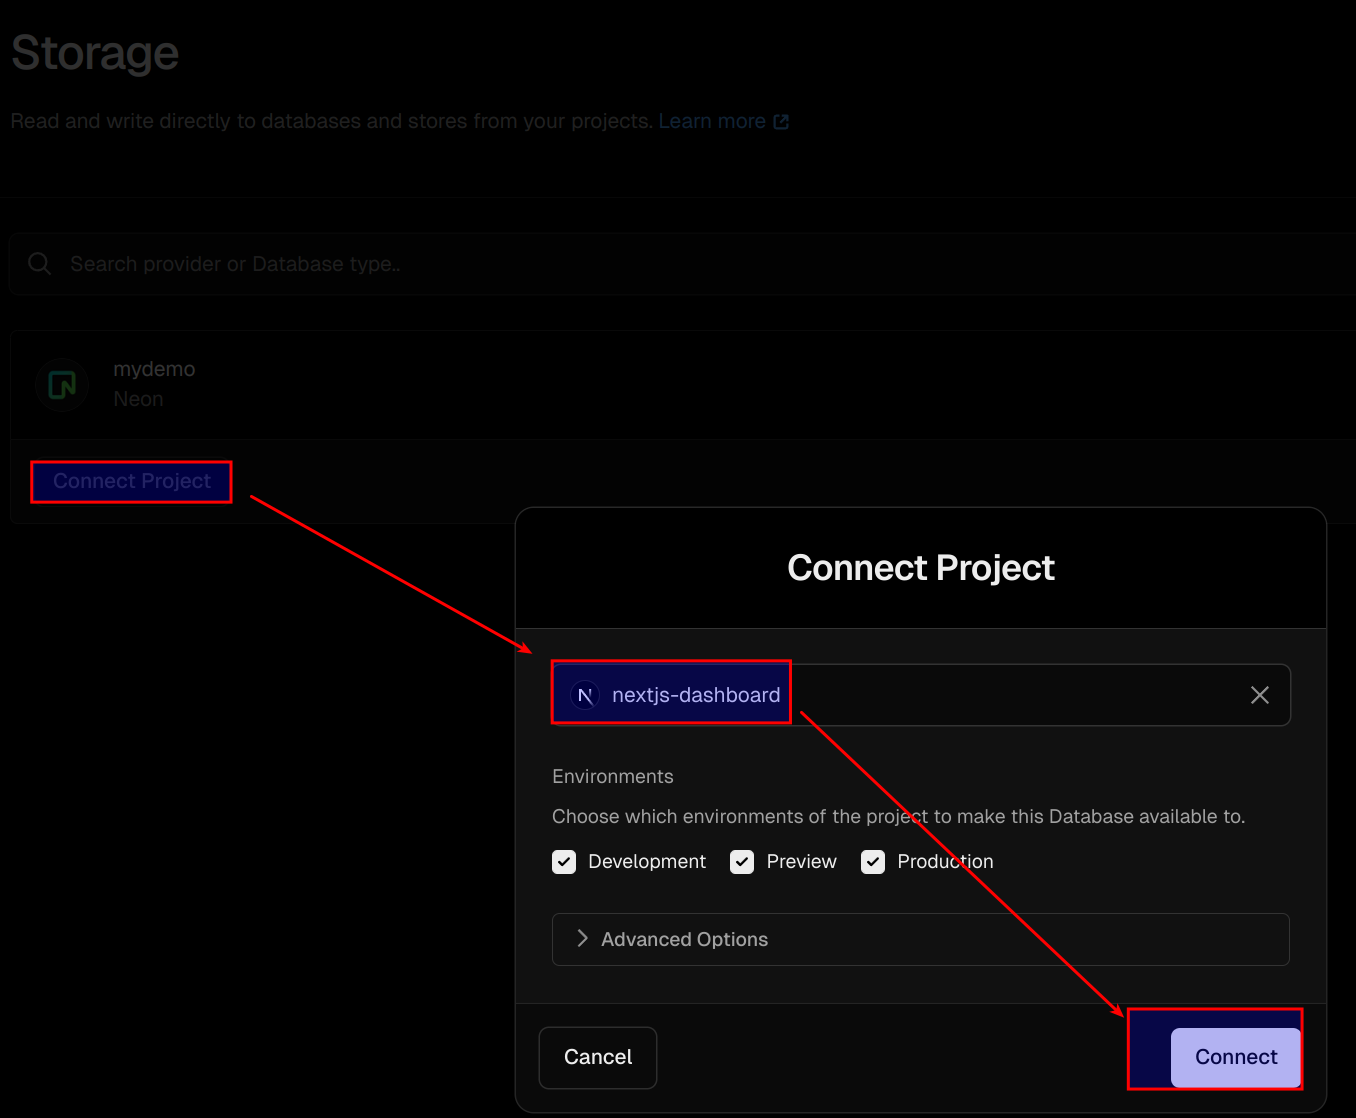
connect db 重新部署
redeploy 部署成功
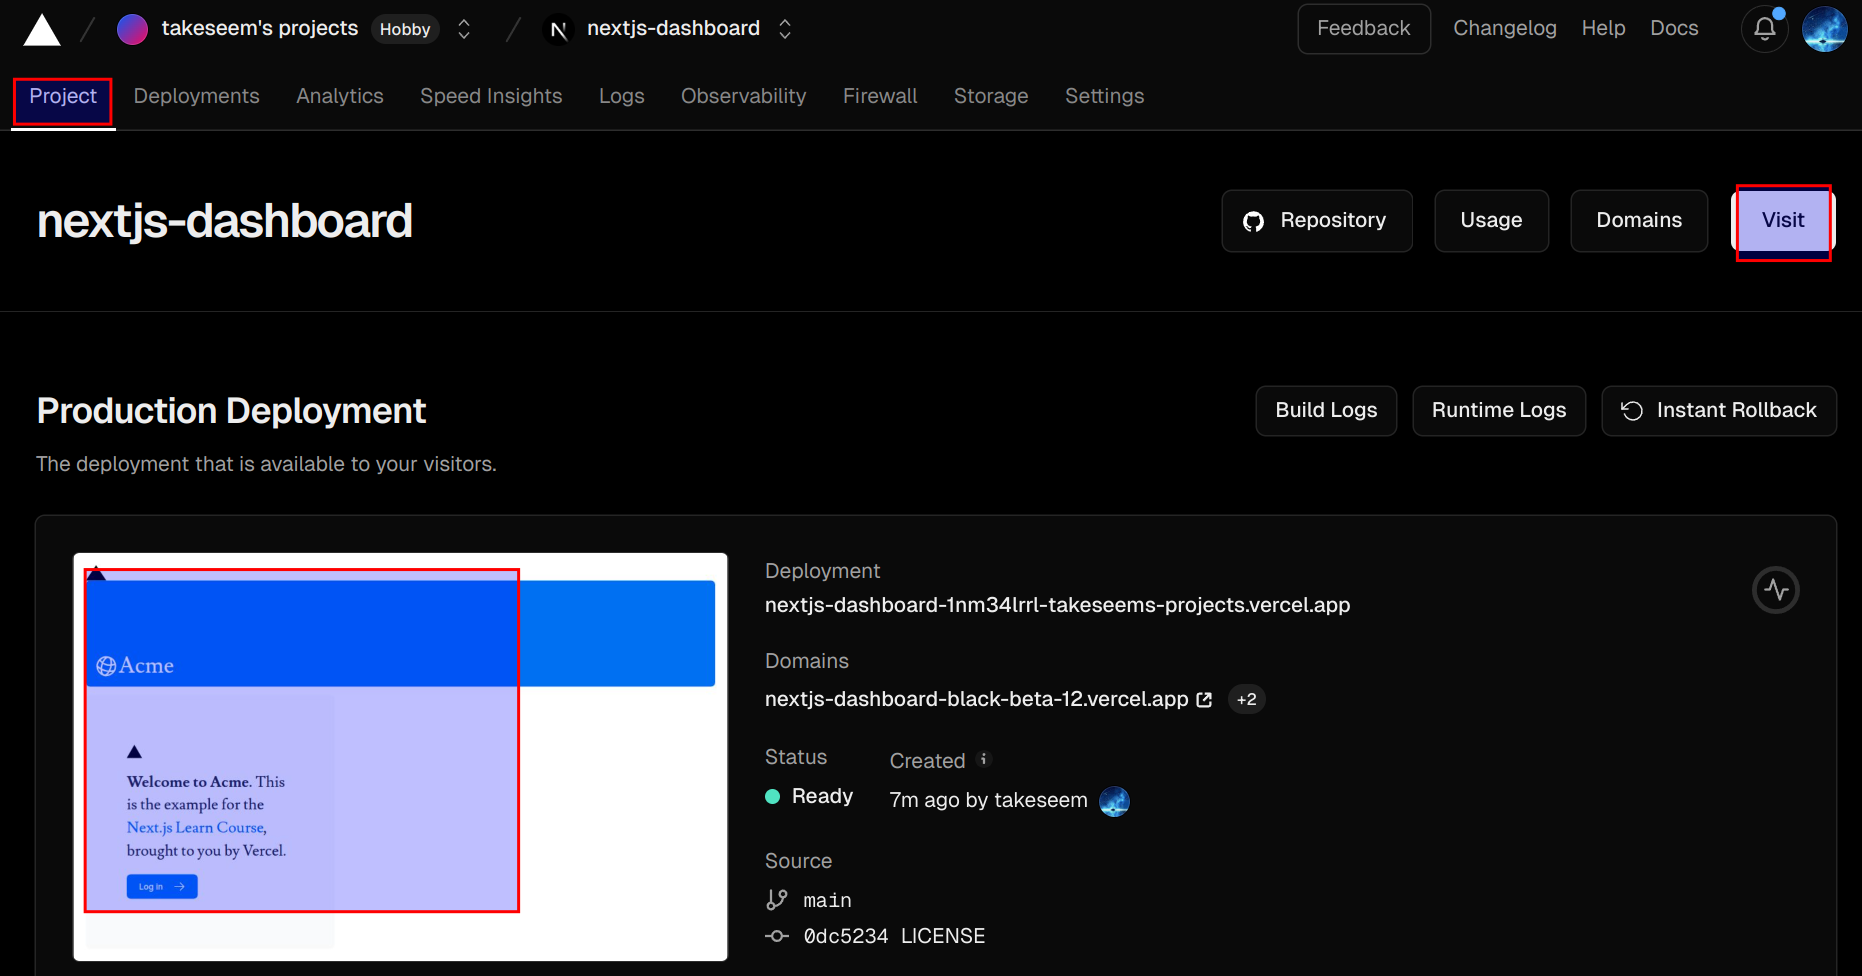
ok
Chapter 10 部分预渲染
- Chapter 10 部分预渲染
- next.config.ts
const nextConfig: NextConfig = { experimental: { ppr: 'incremental', }, } - 在文件顶部添加路由配置:
export const experimental_ppr = true;- 此路由及其子路由都会进行部分预渲染
- 不要 PPR 的子路由,在文件顶部设置路由配置:
export const experimental_ppr = false;
import { Suspense } from 'react' import { StaticComponent, DynamicComponent, Fallback } from '@/app/ui' export const experimental_ppr = trueexport default function Page() { return ( <> <StaticComponent /> <Suspense fallback={<Fallback />}> <DynamicComponent /> </Suspense> </> ) } - 启用 ppr 问题:
CanaryOnlyError: The experimental feature "experimental.ppr" can only be enabled when using the latest canary version of Next.js.- 解决方法:
pnpm i next@canary
- 解决方法:
Chapter 13 错误处理
- Chapter 13 错误处理
- 删除异常
- 之前的删除操作写在 button 的 onClick 中,当 deleteInvoice 发生异常时不是 form 操作,所以无法进入 error.tsx 页
export function DeleteInvoice({ id }: { id: string }) { const delInvoiceWithId = deleteInvoice.bind(null, id); return ( <> <button className="rounded-md border p-2 hover:bg-gray-100" onClick={delInvoiceWithId}> <span className="sr-only">Delete</span> <TrashIcon className="w-5" /> </button> </> ); } - 修改后:
export function DeleteInvoice({ id }: { id: string }) {
  const delInvoiceWithId = deleteInvoice.bind(null, id);
  return (
    <form action={delInvoiceWithId}>
      <button className="rounded-md border p-2 hover:bg-gray-100">
        <span className="sr-only">Delete</span>
        <TrashIcon className="w-5" />
      </button>
    </form>
  );
}
- 之前的删除操作写在 button 的 onClick 中,当 deleteInvoice 发生异常时不是 form 操作,所以无法进入 error.tsx 页
总结
- page.tsx 可选参数:
params、searchParamsexport default function Page({ params, searchParams, }: { params: Promise<{ slug: string }> searchParams: Promise<{ [key: string]: string | string[] | undefined }> }) { const slug = (await params).slug const { page = '1', sort = 'asc', query = '' } = await searchParams return <h1>My Page</h1> } - search 防抖工具:use-debounce
- Zod: TypeScript 验证库
- tsconfig.json
{ // ... "compilerOptions": { // ... "strict": true } } - 安装:
pnpm add zod
- tsconfig.json
- 错误处理
- Next.js 中使用 ESLint
- eslint-plugin-jsx-a11y
- 配置用例中的 rules:
"jsx-a11y/{rule-name: 特定的规则名}": 2
- 配置用例中的 rules:
- form 服务端验证
- 服务端函数需要 bind 确定参数的 参考 formAction 示例
- 服务端函数
export async function updateInvoice(id: string, prevState: State, formData: FormData) { const validatedFields = UpdateInvoice.safeParse({ customerId: formData.get('customerId'), amount: formData.get('amount'), status: formData.get('status'), }); if (!validatedFields.success) { return { errors: validatedFields.error.flatten().fieldErrors, message: 'Missing Fields. Failed to Update Invoice.', }; } // ... } - form 组件
export default function EditInvoiceForm({
  invoice,
  customers,
}: {
  invoice: InvoiceForm;
  customers: CustomerField[];
}) {
  const updateInvoiceWithId = updateInvoice.bind(null, invoice.id);
  const initialState: State = { message: '', errors: {} };
  const [state, formAction] = useActionState(updateInvoiceWithId, initialState);

  return (
    <form action={formAction}>
    // ...
    </form>
  );
}
- 服务端函数
- 服务端函数需要 bind 确定参数的 参考 formAction 示例
Powered by Waline v3.3.2